
Reclaiming Wood
 Print This Post
By Justin Duncan, NCAT Sustainable Agriculture Specialist
So many of our projects on the farm require building structures out of wood. I’m always building a new raised bed or chicken coop or fences to keep the chickens from messing with my vegetables, but a recent trip to the local hardware store was a rude awakening. Wood prices were double what I paid six months ago. Why? They said it had something to do with the fires out west. After taking a moment to reflect on the inter-connectedness of everything, I paid for the wood I needed and went on my merry way. My trip home was merry indeed because I passed by an opportunity, literally: pallets. Stacks and stacks of pallets.
Once pallets get to a certain level of disrepair or otherwise outlive their usefulness, they become a nuisance for businesses. As they say: one’s trash is another’s treasure, and usually just for the cost of stopping and asking (please always ask first), I can score some “free” wood. Free is a relative term because it’s going to take some time, effort, and energy to disassemble the pallets and transmogrify them into something useful. Does the time it takes to de-nail and cut and shape the wood defray the cost of just paying double for wood? Maybe not, but it can be satisfying work. Personally, I love turning seemingly useless things into something useful and, given the number of YouTube videos about how to do this very thing, I’m not alone.
Pallets are only one source of reclaimed lumber. Is there new construction or a renovation happening nearby? Contractors tend to waste prodigious amounts of wood during those activities. I’ve seen them throw away 10 4’ x 8’ sheets of plywood because they had a few nails in them. Rest assured, they didn’t go to waste. I used four of them to build a temporary redout to over-winter my papaya trees. Which worked well until they turned off the power during the Actigeddon Snowpocalypse we had here in Texas, but that’s another story.
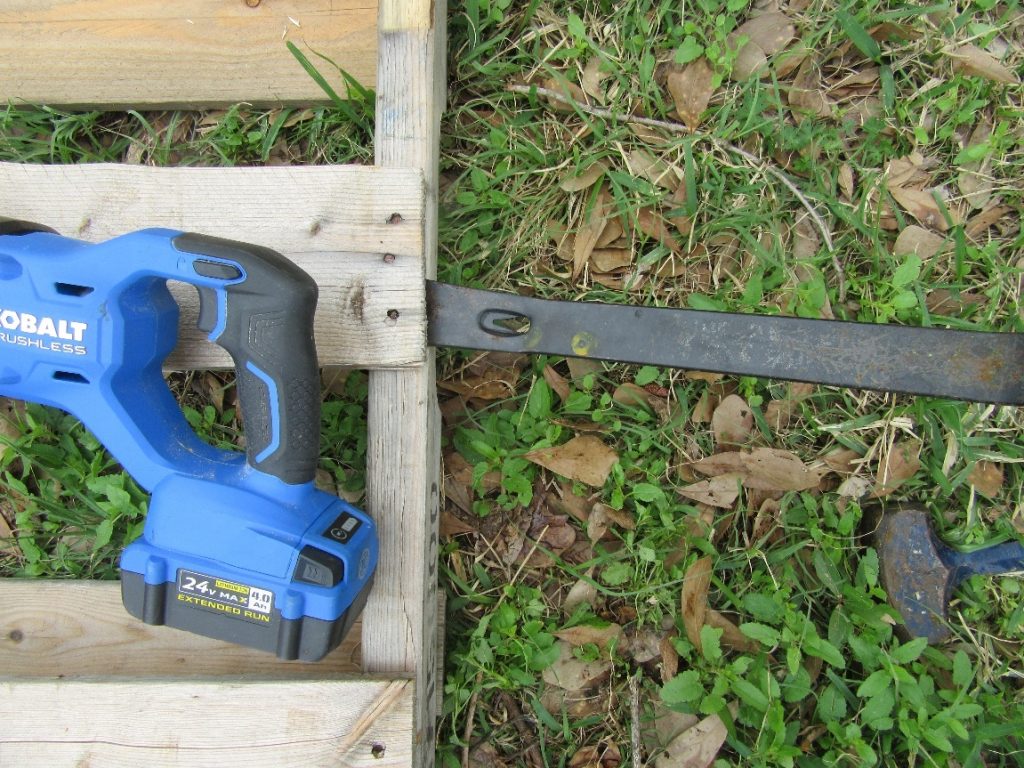
What do you need to reclaim wood? A stout hammer like a small sledge for letting that pesky wood know you are the BOSS! Or for getting a prybar wedge between boards to get some wiggle room between them. Once there is a little gap between the boards, I come through with the reciprocating saw, which has a wood and nails blade that is great for this application. After the reciprocating saw makes short work of the nails, literally, I use a smaller hammer and a punch to pop the nails out of one of the boards and channel locks to pull out the other. I prefer to leave the nails whole if I can, but this take a lot more time. I set the nails aside because one of these days I’m getting a forge, maybe soon. Yay for stimulus checks! Other things that can super-charge your reclaimed wood project are: a table saw, miter saw and a planer.
Here are some tips about reclaiming pallets:
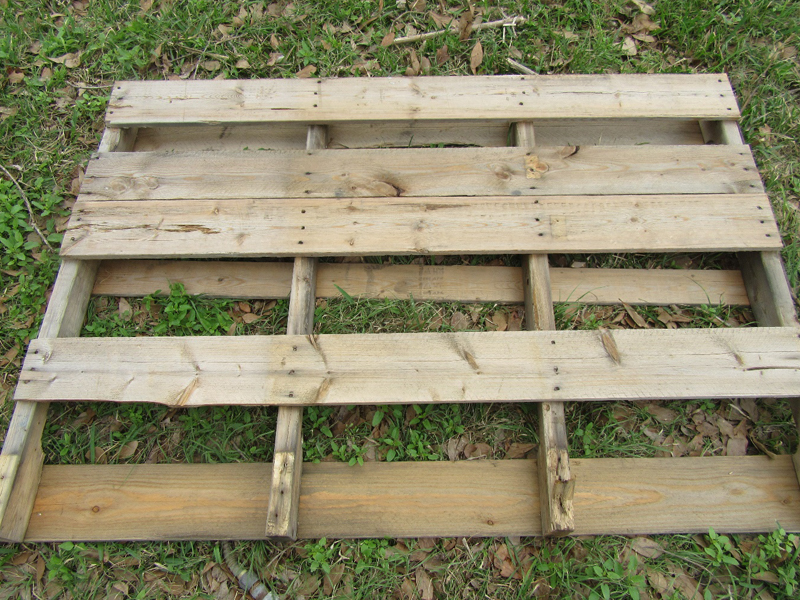
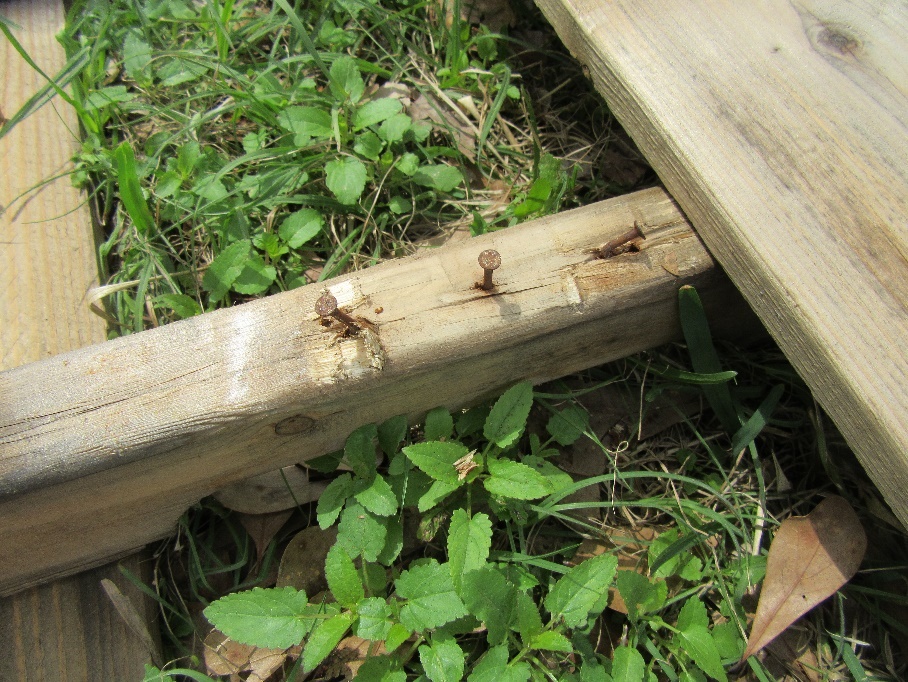
Pallet wood is really split-prone and can be low-quality. Some folks cut these off rather than disassemble them, as I am about to do.
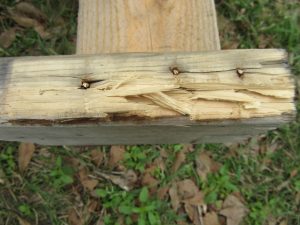
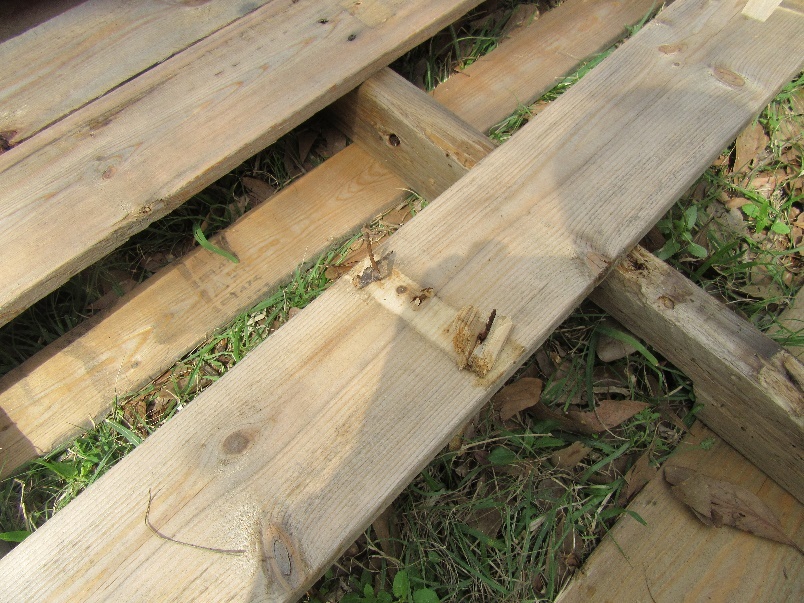
The reciprocating saw cuts through these nails easily. Note that the wood was damaged during separation. The nail fragments are still lodged within the wood and will be removed later.
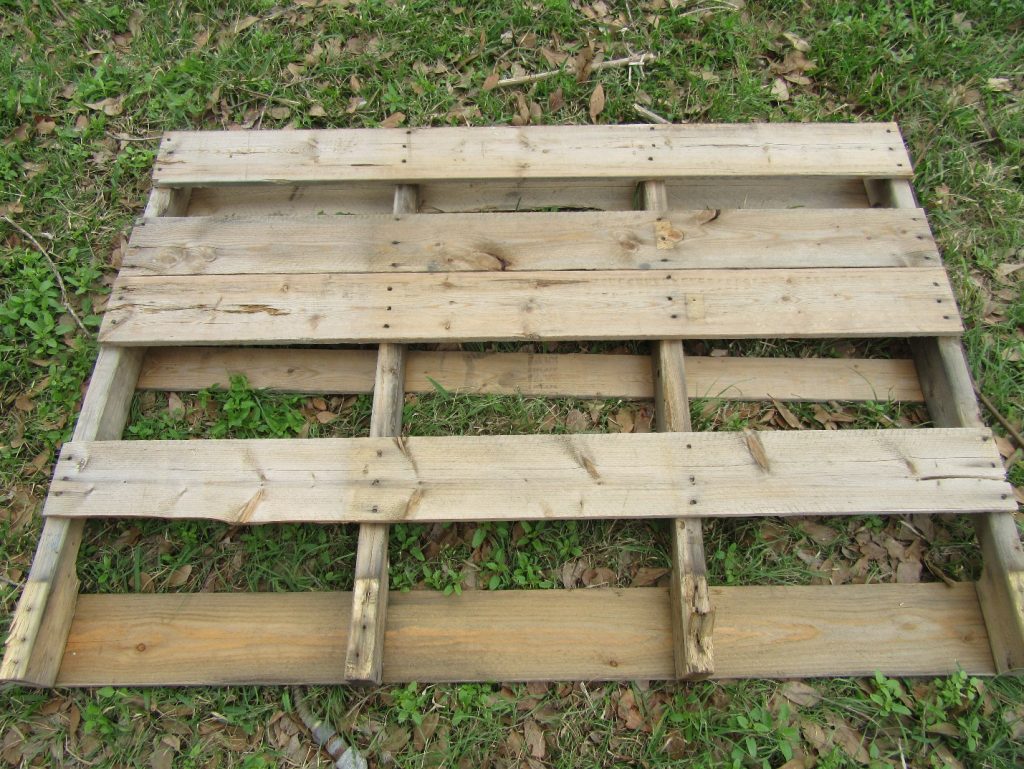
Today’s pallet is tomorrow’s something else. Maybe a flowerbed.
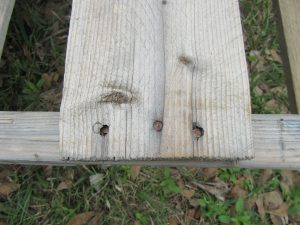
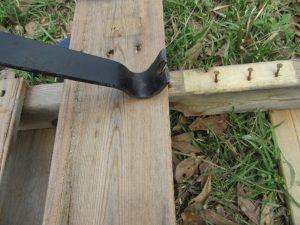
Separating the boards to get a gap big enough for the reciprocating saw.
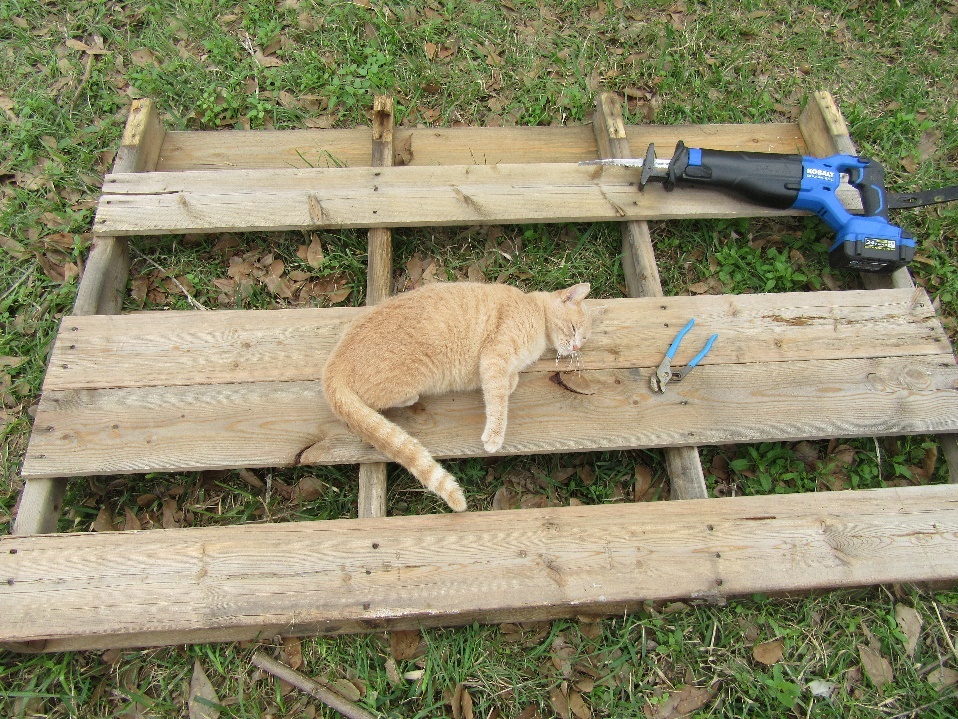
Kitty wanted to help… but not really.
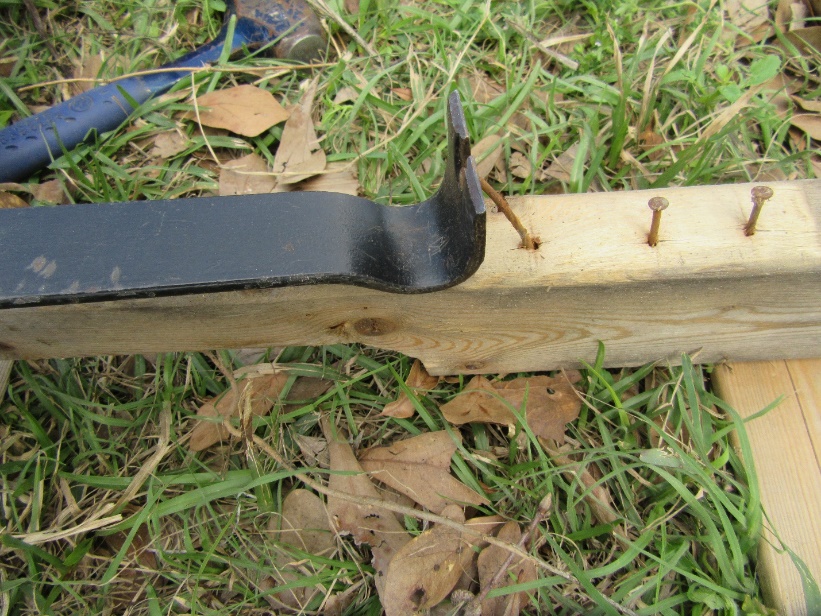
Once the nails on the edge have been removed, it’s easier to pry up the boards and end up with intact nails. These will be tapped out and placed in the nail bucket for some future diabolical use.
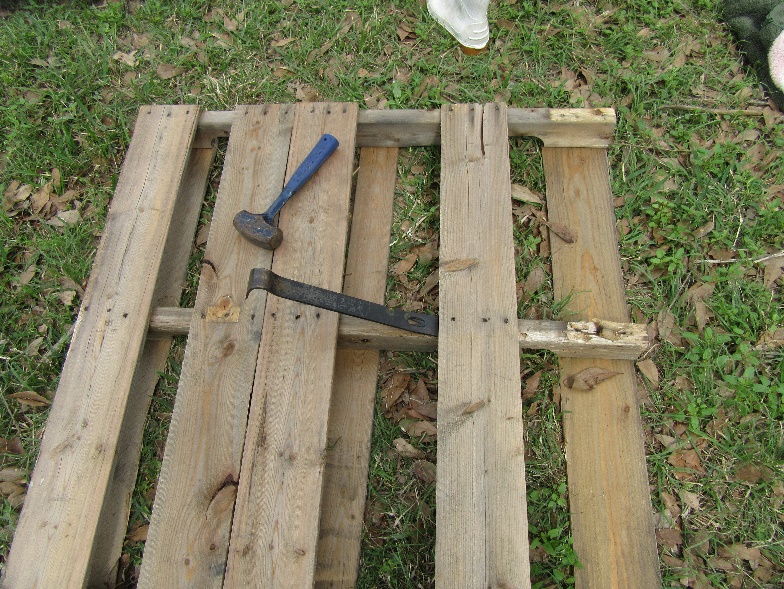
Hammer and prybar combo for the win! First use the obtuse angle side to get under the board a bit and lift, creating a gap. Then use the hook side to force the boards apart. Slow, steady pressure is advised because the board can break or the nail if it’s rushed.
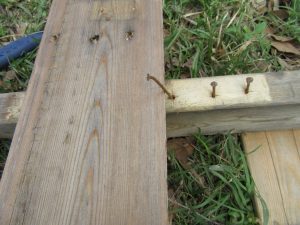
Sometimes the nails pull through the boards because it is, after all, terrible-quality wood.
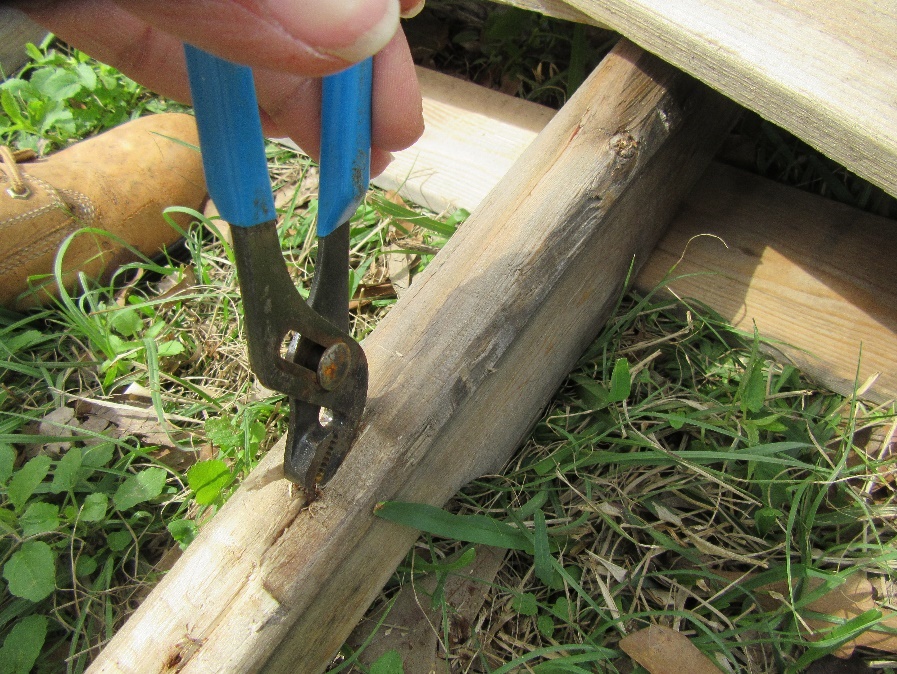
When the nail head breaks off, grab it with channel locks and rotate along the curve to remove the nail remnant.
Sometimes the nails are too long to come all the way out but are still lodged too well to pull out easily.
When this happens, I place an already removed board next to the nail.
This gives the pry bar leverage again
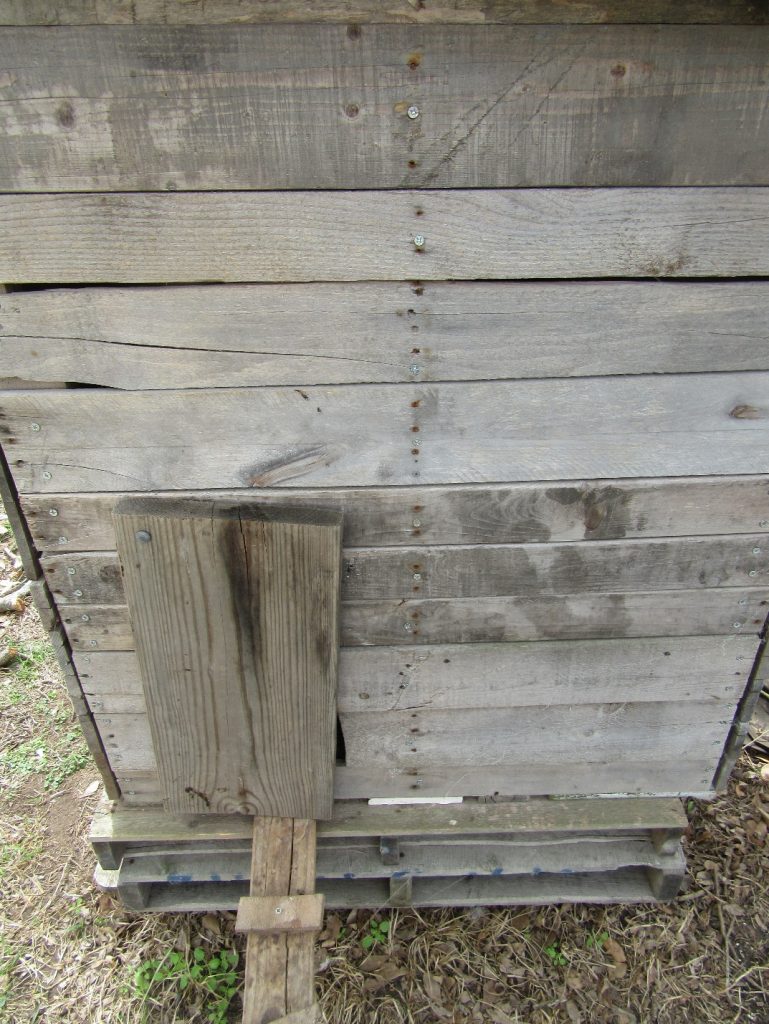
Once you have decent stack of random pallet wood, you can assemble it into all manner of craft projects around the farm. Here, I made a coop for the chickens.
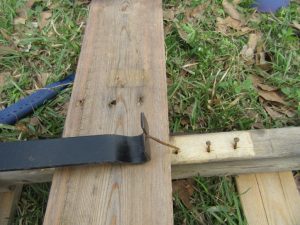
Then the nail comes free easily.
Of course, before you even think about reclaiming wood or any project, give some thought to safety. Dealing with rusty nails or feline helpers can be dangerous. Pallets are prone to split and are, thus, splinter hazards. Striking one’s hand with a heavy hammer is no fun, either. Power tools, especially ones with blades, can remove fingers just as easily as they can cut through wood and nails, so get the appropriate training before using them and always wear the appropriate personal protective gear. Above all, do not go out and get hurt and then say Justin told you to. Nope! I didn’t and it’s right here in black and white that I warned you that’s it’s an activity that’s to be done at your own risk.

At right you can see another reclaimed wood project. Those are my papayas snug in their heated redoubt for the winter. They had both heat lamp and grow light and were miserable but surviving the mild cold of Texas winters. Until the snow came and the power was cut off. The tops were killed completely to the roots, but I checked today and the roots are alive. My Peruvian apple cactus? Alive. Calamondin? Alive. Lemon grass? Alive. Bitterleaf? Alive. Cassava? Alive. Sugar cane? Alive. Thanks to reclaimed wood in the garden.
For more information, contact Justin Duncan directly at justind@ncat.org.


