Using Raised Beds to Increase Your Harvest
 Print This Post
By Justin Duncan, NCAT Sustainable Agriculture Specialist
When I am faced with a less than ideal growing situation, rather than fight with Nature, I’ll build a raised bed. I’ve built many of them over the years to suit different purposes. They’ve been different shapes, sizes, and depths, but I have settled on 12 inches as the depth that’s best for me and my needs. The right depth may be different for you, and that’s okay, too.
What’s a raised bed?
Raised beds are gardening plots that are elevated above the natural soil surface. This method of gardening can eliminate or relieve problems associated with planting directly into the soil. A grower can manipulate the soil in a raised bed to grow a wider variety of crops.
Location
Beds should be placed according to the needs of the desired crop. Raised beds, however, offer a wider range of modifications to increase crop productivity. For example, wind breaks can be placed to isolate a crop that’s particularly vulnerable to wind chill, and hoops can be placed over crops needing shade or protection from birds or insects. I have used windbreaks with collards and gotten fantastic results. The leaves were larger and softer than those grown in the open field, which made for some good eating! I used T-posts and corrugated polyvinyl left over from a greenhouse re-glazing project to make the windbreaks. It wasn’t pretty, but it sure was effective!
Soil
The great flexibility of raised beds stems from the command a grower has over the soil. Native soils can be droughty, boggy, deficient in nutrients, hard to work with, weedy, etc.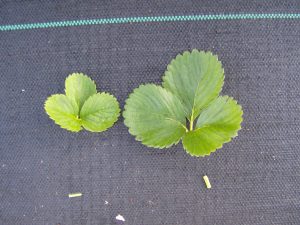 Using a raised bed allows one to literally rise above those and other problems. Soil matters greatly in crop production, as the plants rely on it for water and mineral absorption, support, and development of tasty structures as with potatoes, beets, carrots and other root vegetables. My experiences have shown that okra does terribly in the fields (thus far). On the other hand, tomatoes, peppers, and eggplants do equally as well, if adequately mulched, in raised beds. I prefer to use professional growing media or mushroom compost. In the photo at right, the strawberry leaf on the right was grown in mushroom compost, while the one on the left was grown in growing media. An approximation of professional growing media can be made by mixing equal parts of peat, perlite, and vermiculite.
Plants
Generally speaking, any plant in its season for your locale will grow in a raised bed. Raised beds can be made into season-extending structures, as well.
Size
The size of the raised bed will depend on what’s best for you. I started out using 8 foot long by 8 foot wide by 1 foot deep beds. Needless to say it was hard to reach the center of the bed. This problem was fixed by placing a cinder block in the center to use as a standing stone to work from the middle. Now that I am older, and arguably wiser, I still make 8 foot long beds but only half as wide.
Watering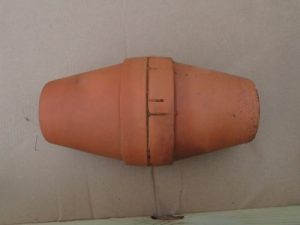
Size matters because it will affect watering. There will be a perched water table in the raised bed because the growing media in the raised bed is above the soil surface. I find that because of this, larger beds need to be watered less frequently than smaller beds. One way to reduce watering is by using ollas.
There more fancy ollas out there but they can be custom made to suit your situation by gluing two unglazed pots together with one end stoppered so it can hold water.
Materials
Raised beds can be constructed from a variety of materials. Ultimately, they all get the job done, and the cost of the materials or the desired look will be the deciding factor. I’ve seen cinder blocks, yellow pine, cedar, redwood, all sorts of random reclaimed wood, tin siding, galvanized tubs and old tires all used to make raised beds. I have settled on using treated lumber. It’s not the best choice, just a choice that is convenient for me.
A gardener sent in a picture of her completed raised herb garden. Photos used with permission.
Construction
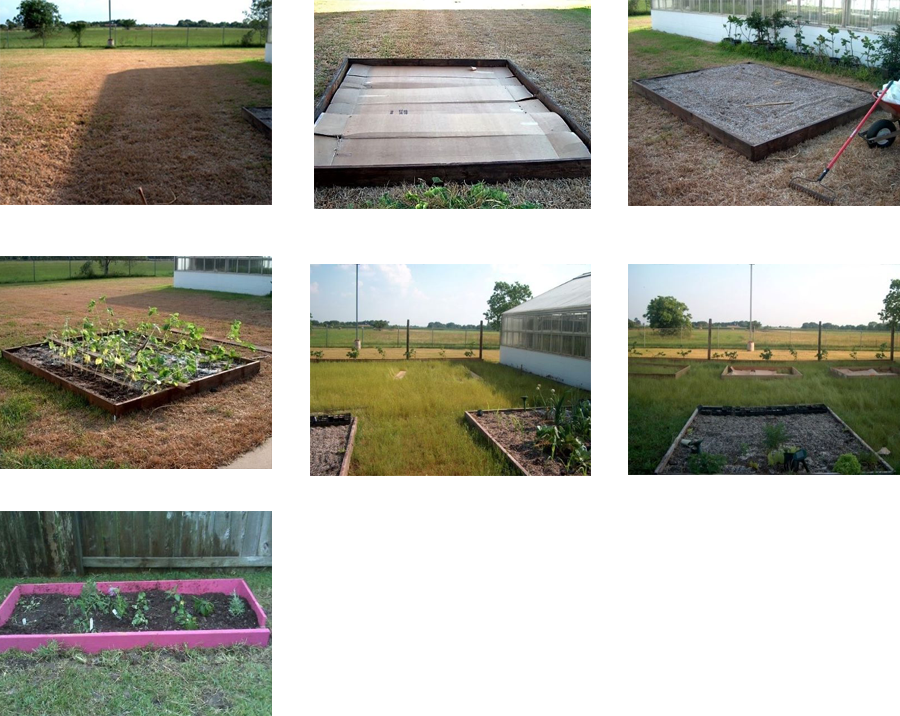
Many people believe that one must remove the existing soil and vegetation to start a raised bed garden. This is unnecessary. As the photos below illustrate, after you have built the bed, you can line the bottom with cardboard, landscaping fabric, or newspaper, and then place the soil directly on top, into which you will place your plants. It will be necessary to water the raised bed a little more often until the barrier breaks down between the elevated soil and the native soil. The existing vegetation under the barrier and the barrier will rot away. Some pernicious weeds, such as nut sedge and dock, may live and those will need to be handled if and when they appear with good, old-fashioned hand digging.
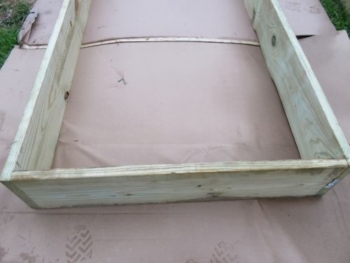
It’s best to extend the cardboard liner beyond the borders of the box, especially when starting on grassy ground.
Keep in mind that if you build raised beds, they are going to be there for a while. I take pride in building new boxes, remembering lessons from my dad on the importance of things being “square” and lessons from the U.S. Army on things being “dressed right and covered down,” or lined up evenly and arrayed properly, in civilian-speak. I have also learned that a small pilot hole helps to keep the wood from splitting or the screw from stripping. Also, wood is not completely straight, so sometimes the square effect is ruined. In boxes with flaws, unevenness, or imperfections, I simply turn the plank or the box itself to hide the marred surface and literally put its best face forward.
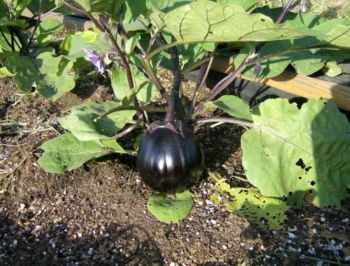
Eggplant growing in the Prairie View A&M University raised bed garden.
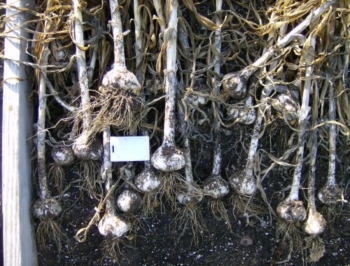
Elephant garlic freshly harvested.
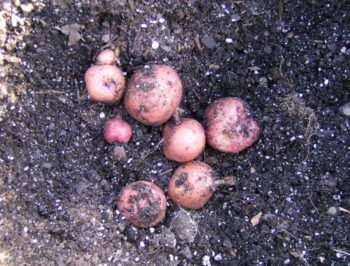
Potatoes do as well as the other Solanaceae vegetables in the fields here as they do in raised beds.
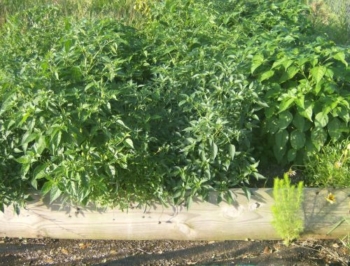
Peppers do equally as well in raised beds or field plots in our Hockley series soils, but a little of the hot cayenne peppers goes a long way, so only few plants are needed.
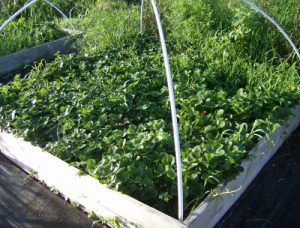
These strawberries have hoops for bird netting to reduce predation (seen with netting down), which will later be replaced with shade cloth to protect the berry plants from the heat of the summer.
Have fun building your raised bed, and don’t forget to post a picture of your project on our ATTRA Facebook page!

